
The Overgrown Orchard
The old orchard behind the Garden wall has not been picked in years. Something picks it now: whatever walks in, it wraps in gold silk and hangs in the trees for later.
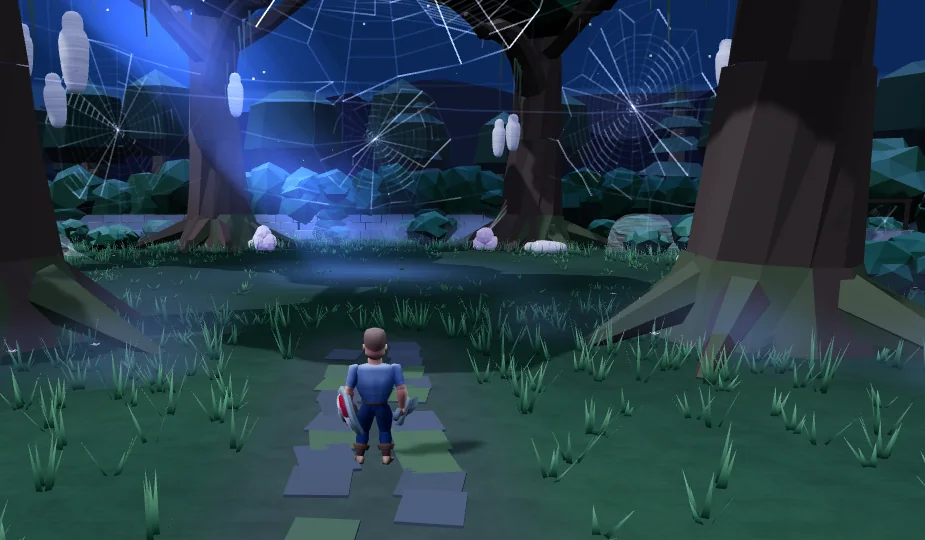
How to get in
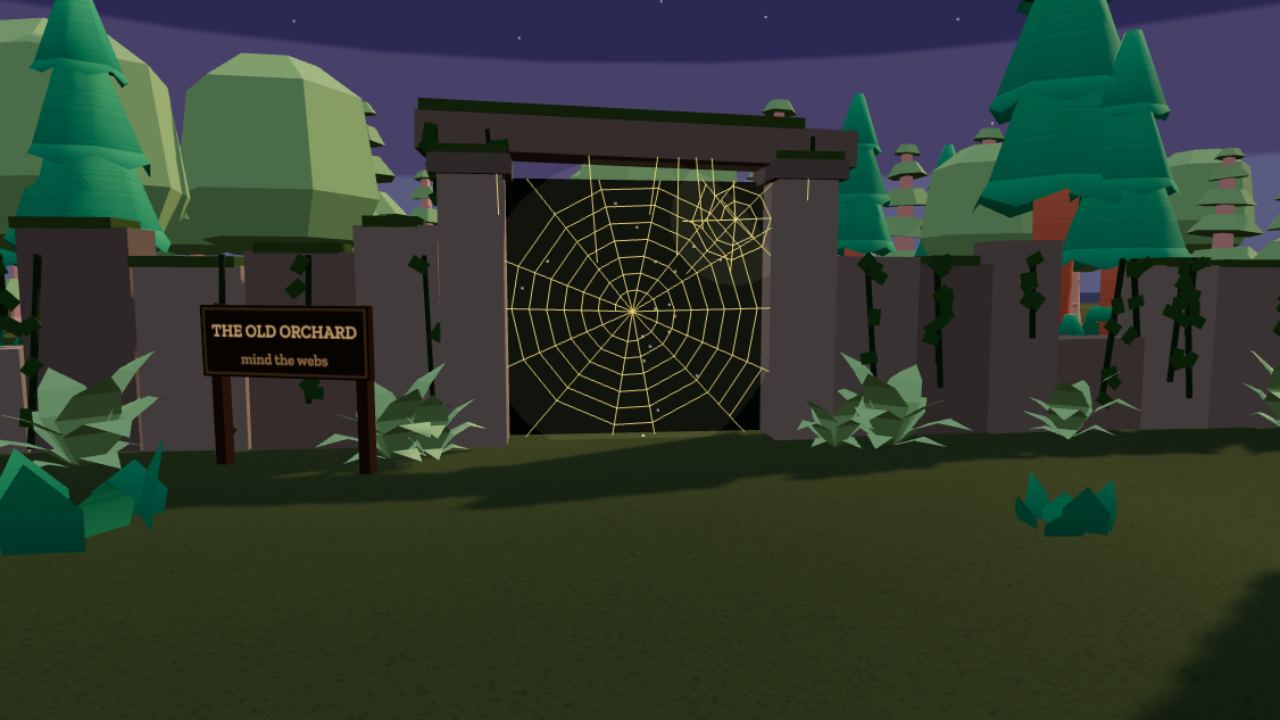
An old stone wall runs along the south edge of The Garden, with a gate in it and golden webs across the gap. Its sign says THE OLD ORCHARD · mind the webs.
Press G at the gate (or right-click the gap) to gather a crew. It wants level 10; below that the webs hold.
Pip's quest The Old Orchard (level 10, after The Breach) sends you in the first time.
A run
It runs like the Wreck: a count, four waves with a breather between, then the boss; the same keys, par, weekly twists, loot and Mastery.
- The hatchlings: 6 × Orchard Spiderling
- Webspinners in the boughs: 4 × Webspinner, 4 × Orchard Spiderling
- The broodguard: 3 × Broodguard, 4 × Orchard Spiderling
- The nursery: 4 × Egg Sac, 1 × Broodguard, 3 × Webspinner
- THE GILDED WEAVER
Finish within par and the key that started the run climbs, as in the Wreck: 1 level, 2 under 12:00, 3 under 9:00. It is the same key your character uses in the Wreck: a timed or late finish sends it to a dungeon drawn at random (a late one drops it 1), and a wipe or giving up drops it 1 and leaves it here (how keys work). Every finished run counts toward your rating.
2 minutes after a fall, at full health. If the whole crew is down at once, the run is over.
Your loot is in your bag at once: a won run shows your pieces as pop-ups, and chat has the result with a Run summary link and a line for each crewmate who got something. The dungeon then stays open for 5 minutes: the enemies are gone, the fallen stand up where they lie, and you can walk about. The run card shows Leave dungeon, which takes you out to the dungeon's door at once, and “Closes in” with the time left; warnings come at 1 minute and at 10 seconds. Then everyone still inside is back at the door.
The waves have 8× their health and hit 0.6× as hard, with 25% more of them; the Weaver 5× and 0.7×, the brood she calls 2× and 0.6×. 30 seconds to breathe between waves.
Every enemy here has 20% more health and deals 20% more damage, and from key 15 35% more health and 40% more damage, on top of what each key adds.
The week's twists join here too, by your key.
Foes
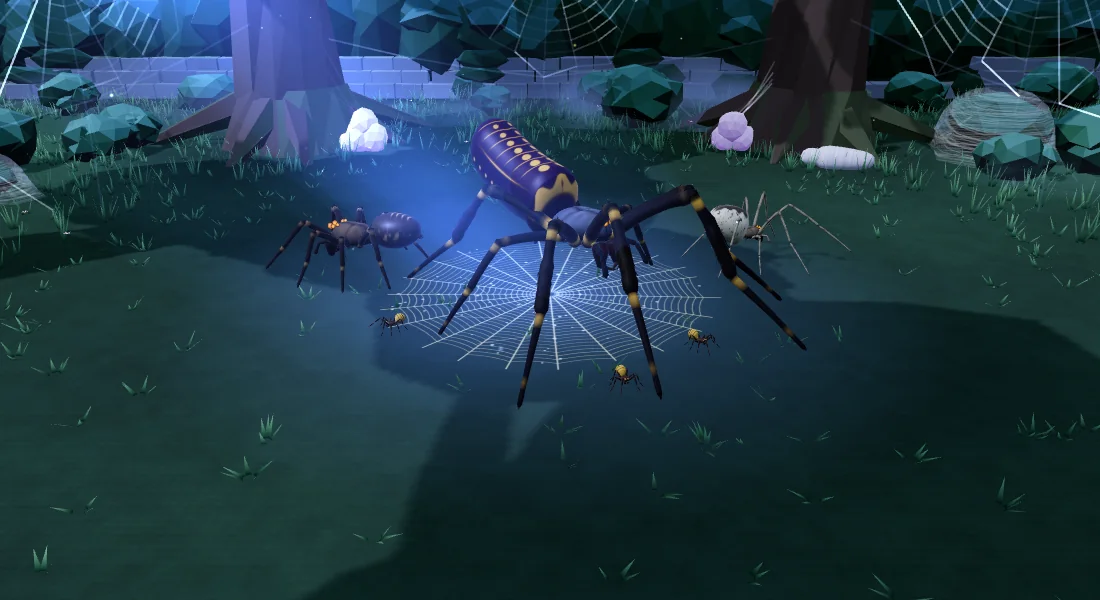
Small, fast and never alone. Fight them together and they fold.
Health at key 1: 2,400.
- Bite: a 1.2 m cone, 0.45 s to see it coming, 7.2 damage at key 1
It spits web from afar that roots whoever it lands on. Kill the spinners first.
Health at key 1: 5,600.
- Bite: a 1.5 m cone, 0.55 s to see it coming, 12.3 damage at key 1
- Web Shot: a 1.8 m circle, 2 s to see it coming, 8.2 damage at key 1, roots 1.5 s, thrown from up to 15 m, every 8 s at most
Its Pounce stuns everyone in a half circle in front of it. Stand behind it, or step out of reach.
Health at key 1: 13,600.
- Maul: a 2.4 m cone, 0.8 s to see it coming, 26.6 damage at key 1
- Pounce: a 3.2 m cone, 2 s to see it coming, 30.1 damage at key 1, stuns 0.8 s, every 10 s at most
Break it before it hatches. About eleven seconds, then two more spiderlings.
Health at key 1: 1,200. Hatches 2 spiderlings 11.25 s after it lands.
The Gilded Weaver
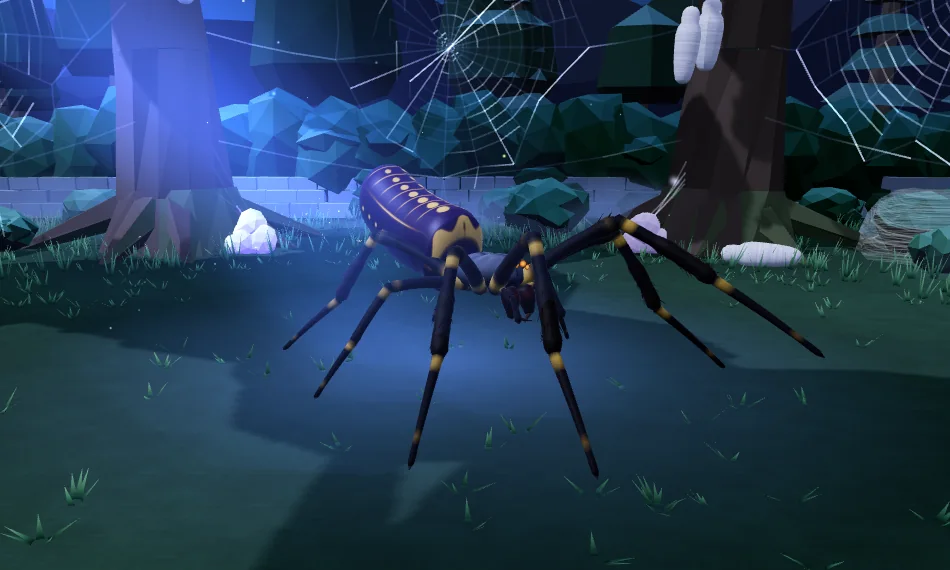
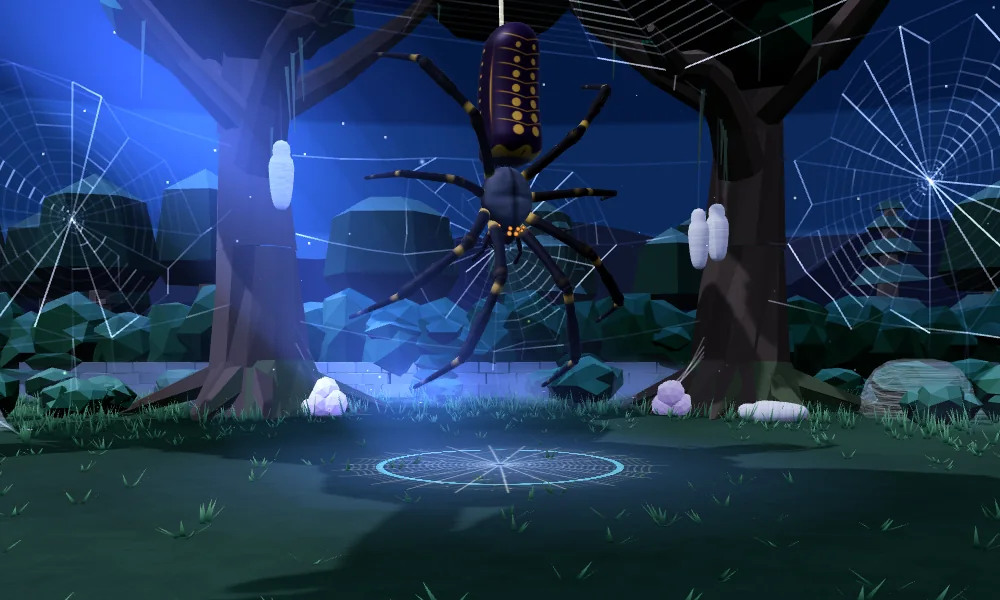
A golden orb-weaver the size of a cart, and the reason the fruit rots on the branch. She has three moods, and she lets you know when she changes.
- Health at key 1
- 70,000 (the same for any crew)
- Her moods
- From 60% the brood joins; from 30% she is 15% faster
- Hard enrage
- 10:00: she hits far harder and attacks faster from then on
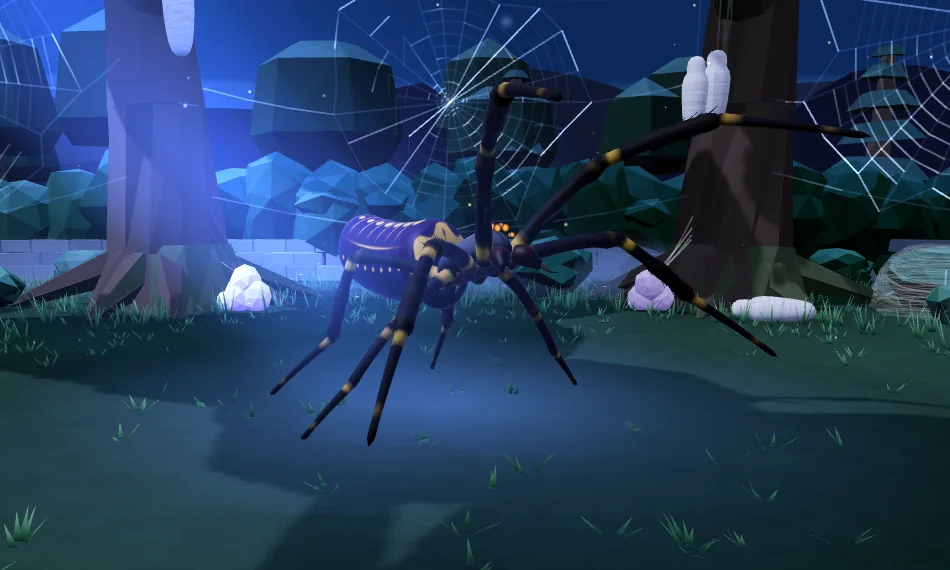
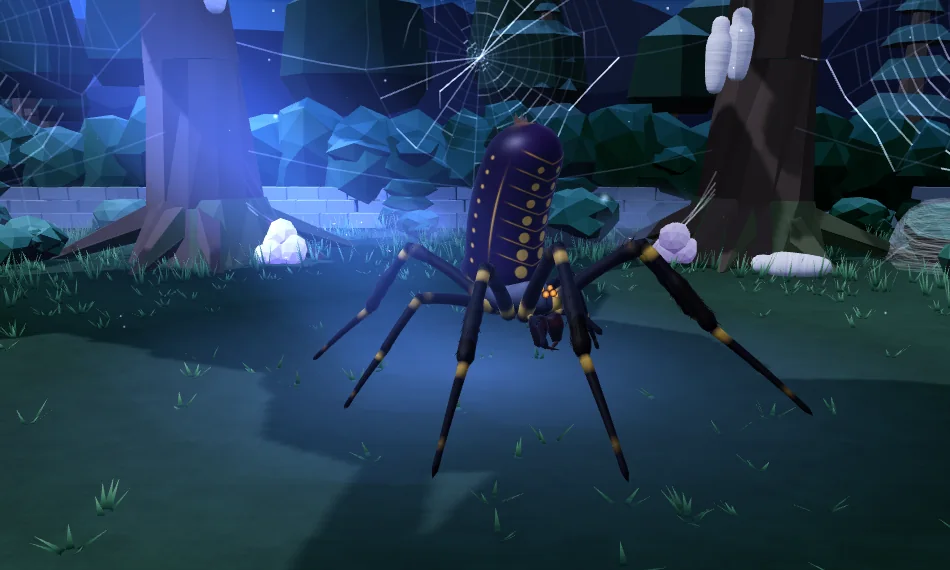
Rearing for a Fang Strike, and her abdomen up for a Web Spray: learn the two shapes.
Her quick bite on the one she fights, with nothing on the ground first. The tank takes it.
a 3.4 m cone, 0.7 s to see it coming, 26.3 damage at key 1.
A bite in front of her. The one she fights takes it; everyone else stays out of her face.
a 3.4 m cone, turning with the one she fights and following them, 1.5 s to see it coming, 41.4 damage at key 1.
A glob at whoever stands far from her. Step out of its circle before it lands, or be poisoned for a few seconds.
a 2.4 m circle, 2 s to see it coming, 12.8 damage at key 1, poison for 6 s, thrown from up to 14 m.
A long, thin cone at one of the crew who is not the tank. Step out of it or be webbed in place for a moment.
a 12 m cone, 2.5 s to see it coming, 9.6 damage at key 1, roots 2.5 s; about every 18 / 15 / 12 s as the fight goes on.
At 60% and again at 30% she climbs into the trees, out of reach. Egg sacs fall round the tree: break them. Then she marks one of you with a circle that follows you. Lead it away from the crew. When it stops, roll, blink, leap or sprint out: walking is too slow. She lands hard on whoever is still in it, and for a moment she cannot fight back.
at 60% and 30%; 3 egg sacs that hatch 2 each after 11.25 s; a hatchling that reaches her makes her hit 10% harder for 60 s (3 at most); the circle follows you for 3 s and stops 0.8 s before she lands; her landing takes 32% of the marked one's health and 8% from anyone else under her, and stuns her 1.8 s; her web stays where she lands: 40% slower inside.
She sweeps everything around her, most often when the crew crowds her. Give her room.
a 4.4 m circle around her, 2.5 s to see it coming, 63.8 damage at key 1, knocks you back.
After her first climb, three spiderlings come down on their threads around her every 40 seconds.
3 spiderlings every 40 s.
Loot
What the Wreck gives, at the same item levels: Black Pearls from the Weaver's hoard, Mastery, and from key 10 the legendaries' chance. The three dungeons share one loot table, split by slot: the Gloamhollow drops weapons and trinkets, the Wreck off-hands, heads and necks and the Overgrown Orchard bodies, backs and rings. A piece drops where its slot does, whichever dungeon it was made for. From key 10, one armour piece in six drops in another role's version, yours to wear or sell. The Orchard's bodies, backs and rings, for every class:
Bodies
Keys 1 to 9
From key 10
Backs
Keys 1 to 9
From key 10
Rings
Keys 1 to 9
From key 10
Not fond of spiders?
Esc → Graphics → Spiders as crabs: every spider is drawn as a crab.